Owari Robo · Documentation
Position and appearance
Choose the image on Robo's button and where it appears. Keep it easy to find without covering other buttons on the website.
For anyone editing the websiteChange the image on the button
The floating button can show your logo or another image you choose. This is the button visitors tap to open the chat.
Open the appearance settings
In the customer's workspace, go to Settings. In the website chat area, open Appearance.
Set the button image
In Widget Launcher Image URL, paste the public HTTPS link to the image. Launcher means the button that opens the chat. This field uses an image link; it is separate from Header image URL, which changes the picture inside the chat header.
Save and check the website
Click Save, wait about a minute and reload the website. Changing only the button image does not require replacing the installation code.
Choose a free corner
If WhatsApp already sits on the right, put Robo on the left. The operator can choose the corner in Site and Widget.
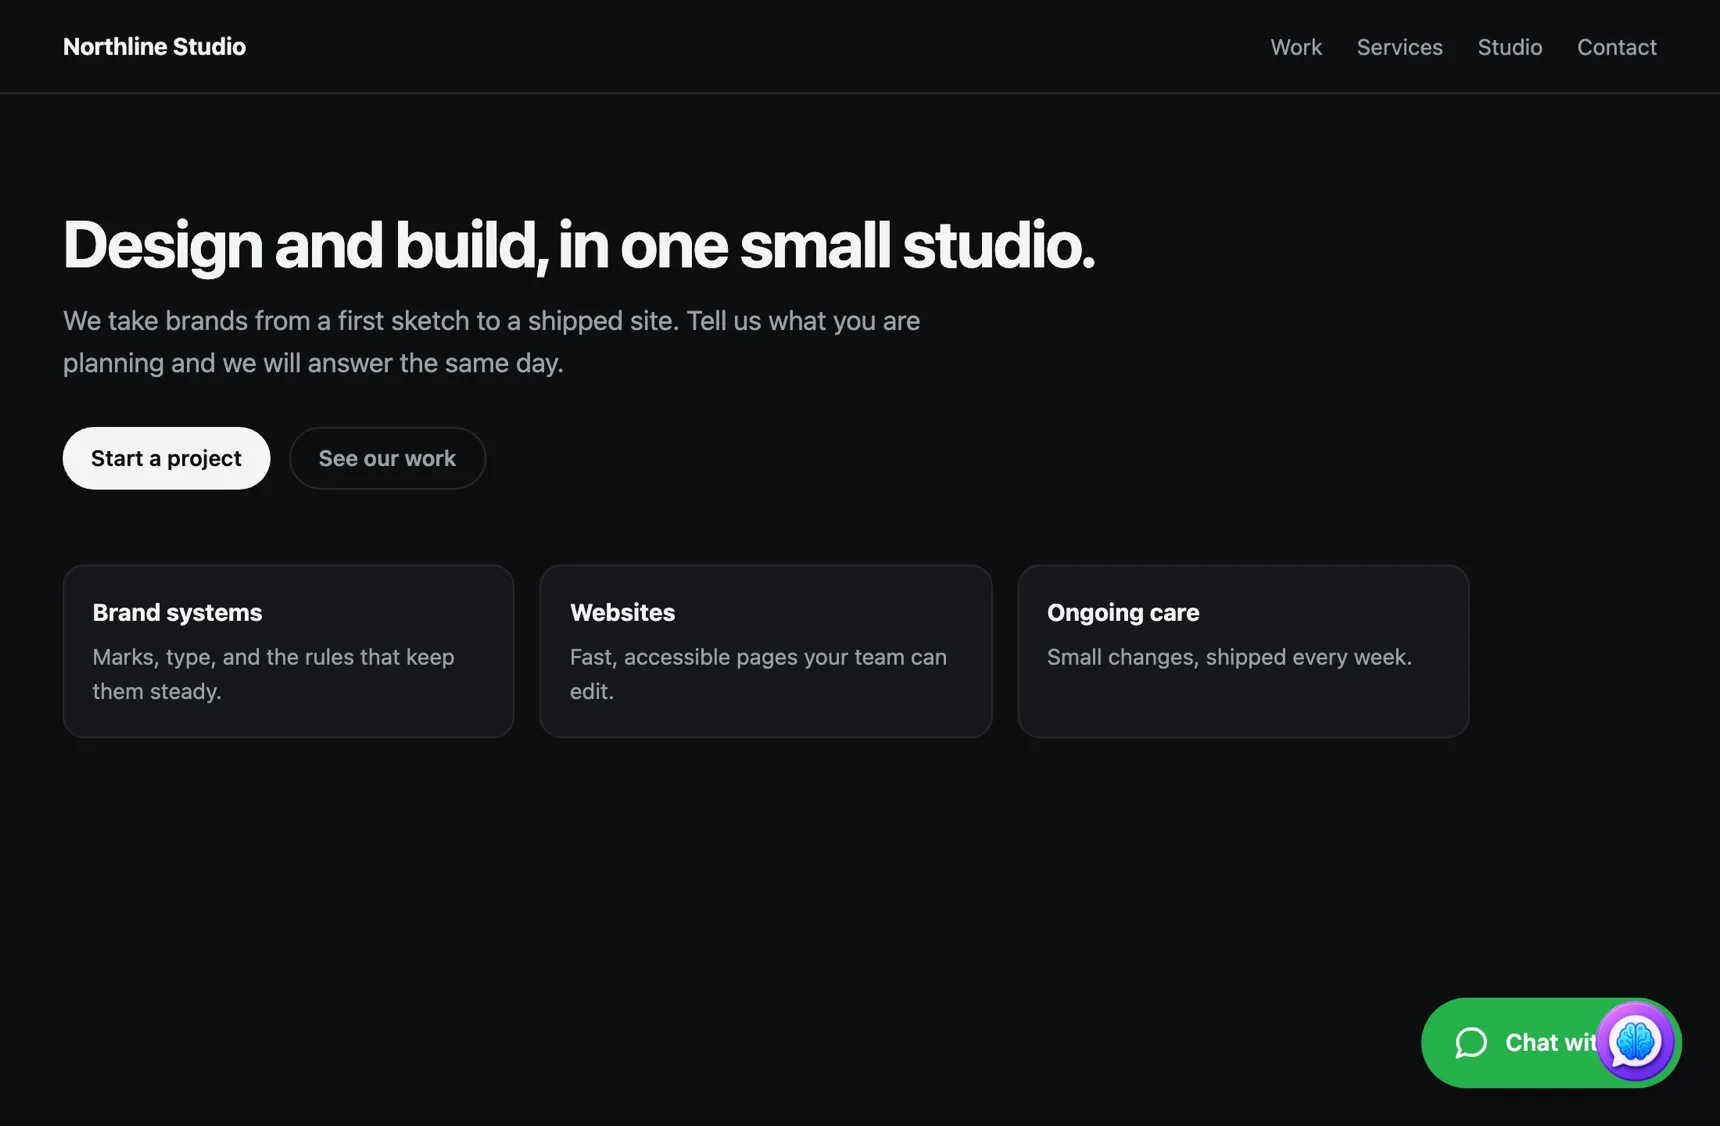
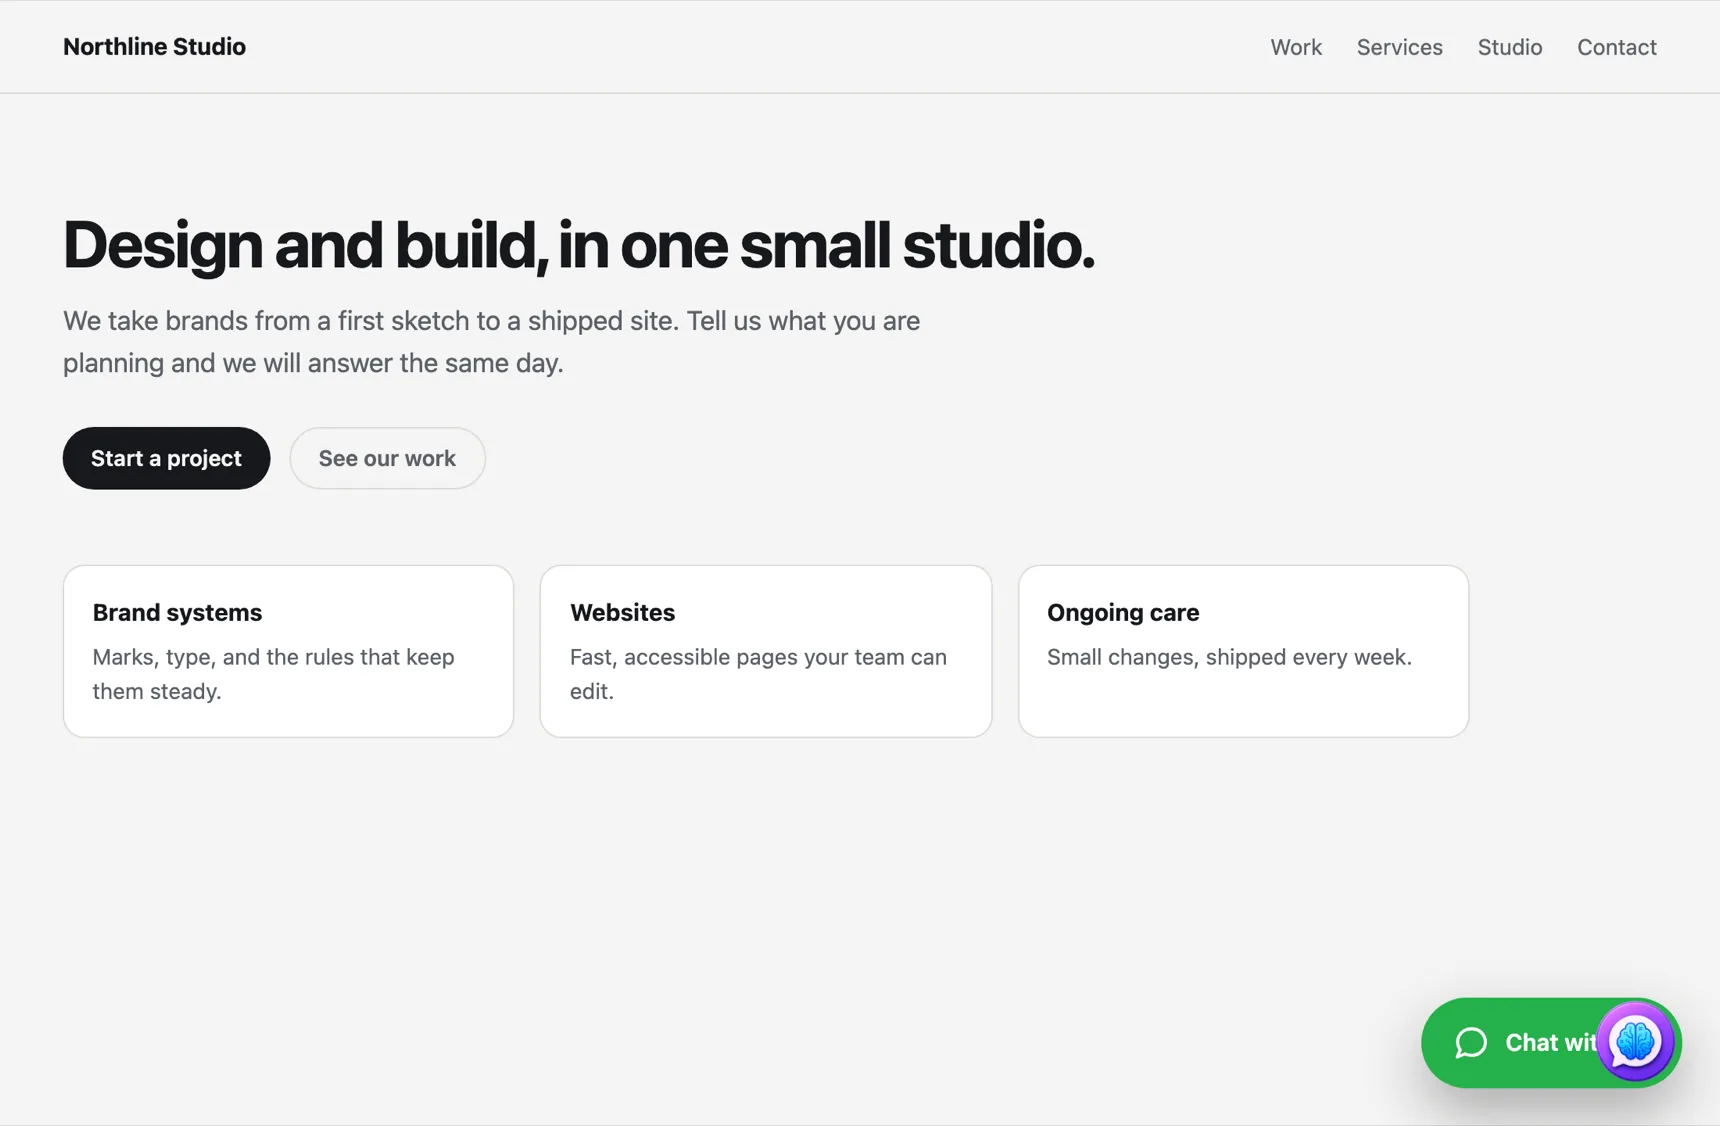
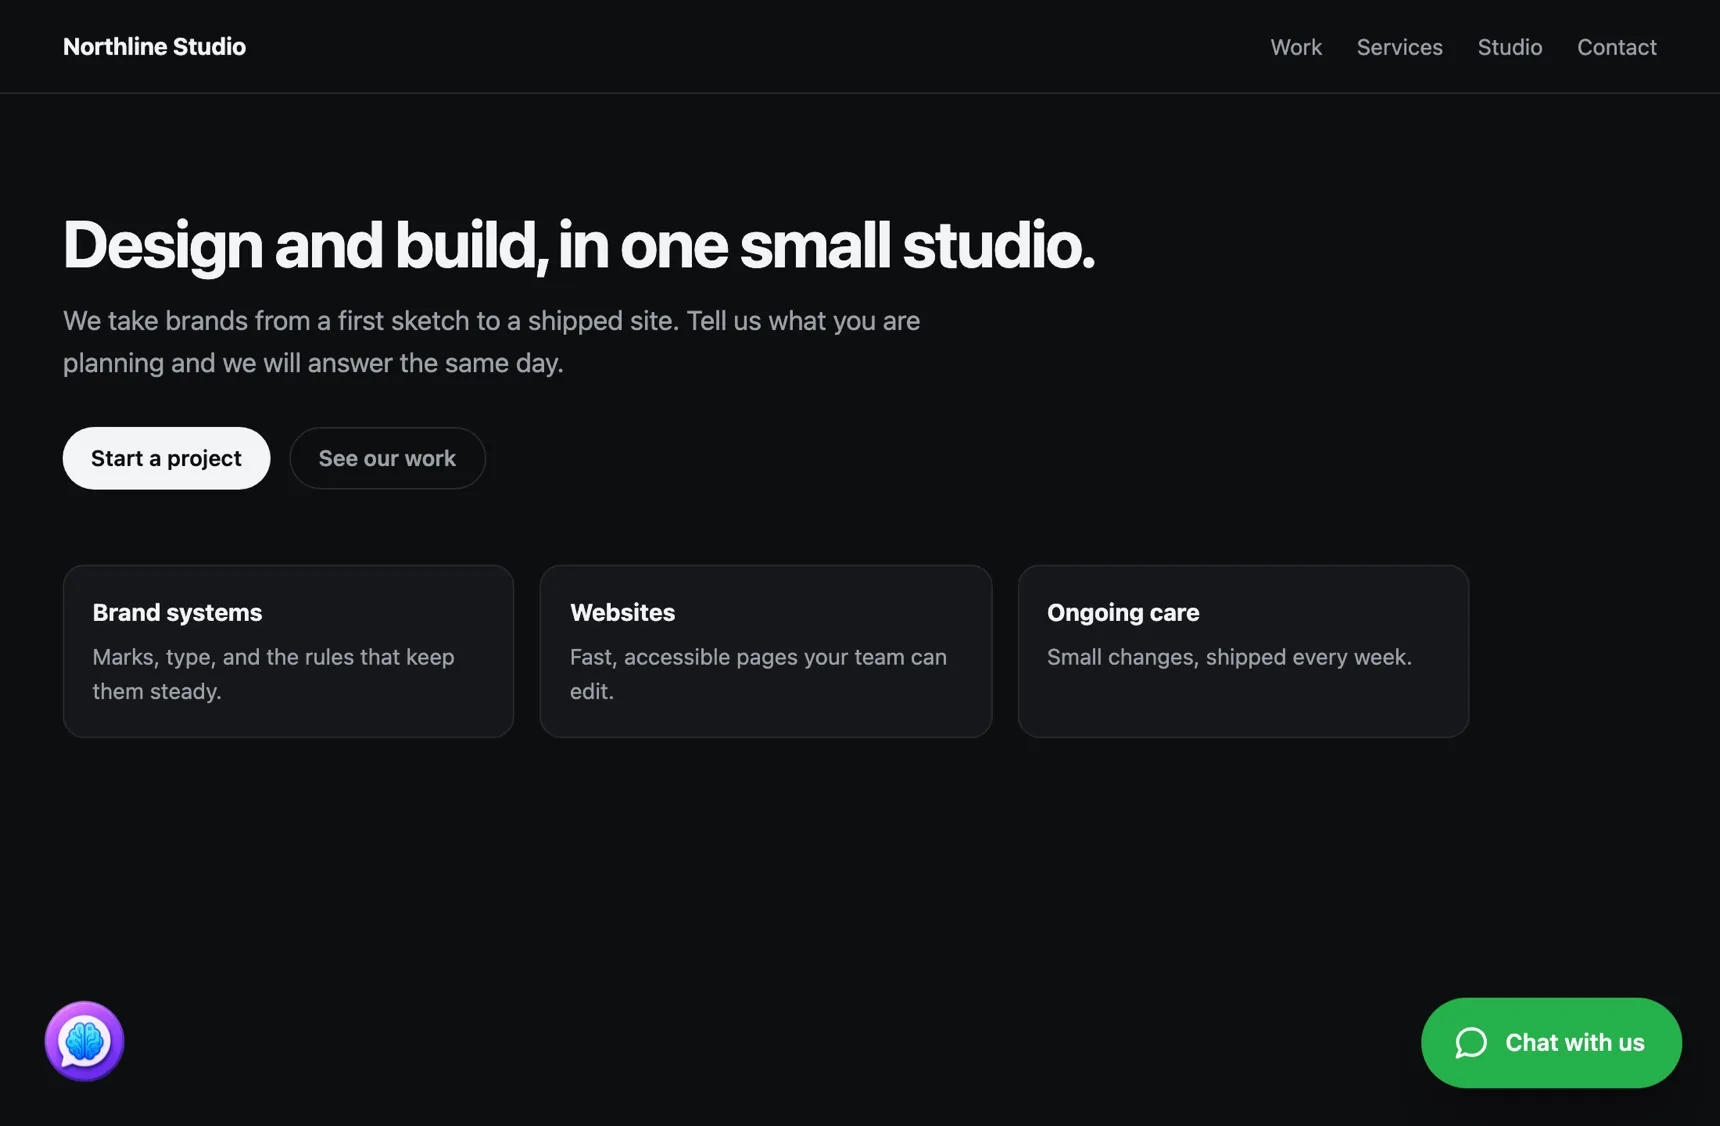
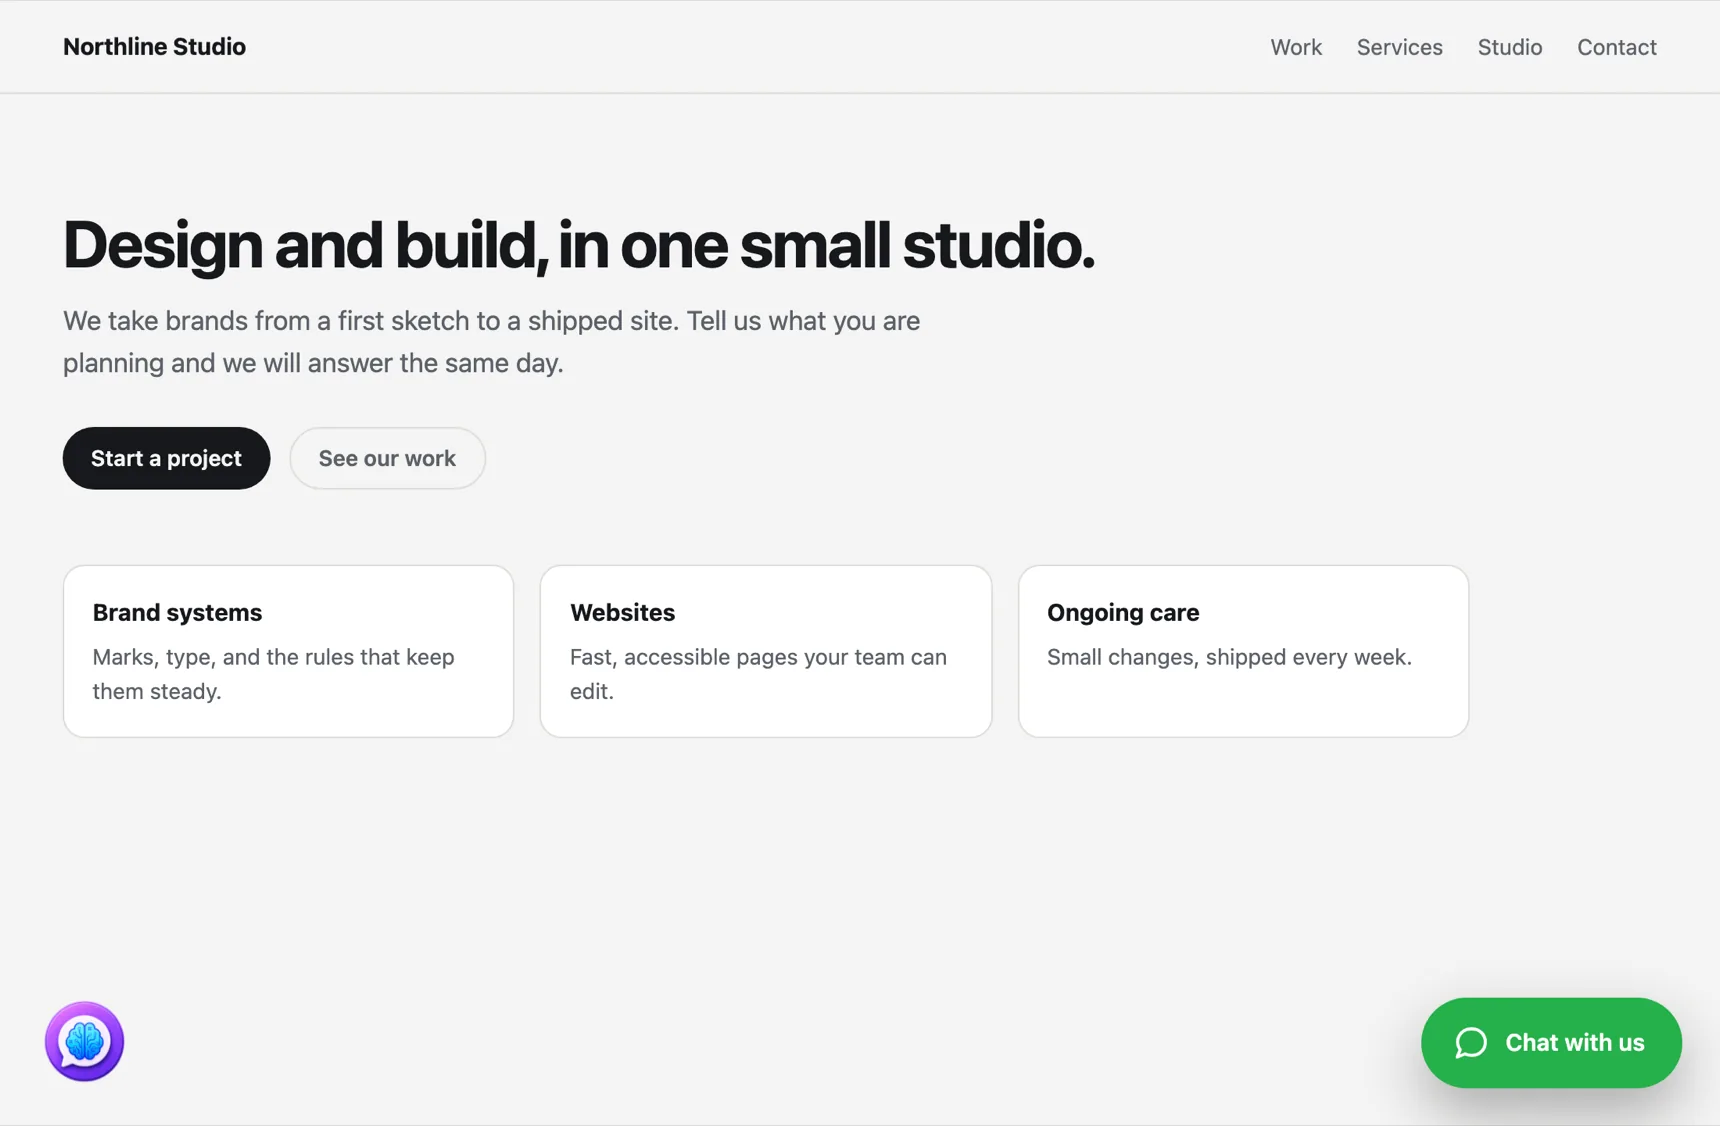
Leave space above another button
You can also move Robo upward using the website's CSS. This example uses 96 pixels; adjust it to your layout.
Example code · adapt to your website
Example: move the button upward
Paste into your stylesheet. If the installation tag includes data-robo-offset-bottom, its value takes priority. Ask for an updated snippet before relying on the CSS.
#owari-robo-widget {
  --owari-robo-widget-offset-y: 96px;
}

@media (max-width: 720px) {
  #owari-robo-widget {
    --owari-robo-widget-offset-y-mobile: 96px;
  }
}Use a button from your own page
You can hide the floating button and use your own opener. Add data-robo-launcher="none" to the existing installation tag.
Example code · adapt to your website
Example: a custom chat button
This complete example has a fictional workspace. Use the values from your operator and replace the existing tag; do not add a second widget script. Place the click script after the button.
<!-- EXAMPLE: ask your operator for your assistant's real code. -->
<script
  defer
  src="https://dev-robo.owarilabs.com/widget.js?v=v1"
  data-robo="your-workspace-slug"
  data-robo-version="v1"
  data-robo-locale="en"
  data-robo-host="https://dev-robo.owarilabs.com"
  data-robo-launcher="none"
></script>

<button type="button" id="open-robo">Chat with us</button>

<script>
  document.getElementById("open-robo").addEventListener("click", () => {
    window.OwariRobo?.toggle();
  });
</script>